UEFI Self-Certification Test
Important
This feature might not be applicable to all Platforms. Please check individual Platform pages, section Supported Features to confirm if this feature is listed as supported.
Overview of SCT Standalone test
The UEFI Self-Certification Test (UEFI SCT) is a toolset for platform developers to validate firmware implementation compliance to the UEFI Specification. The toolset features a Test Harness for executing built-in UEFI Compliance Tests, as well as for integrating user-defined tests that were developed using the UEFI SCT open source code.
The latest version of the UEFI SCT can be found at the UEFI website
This document describes how to build the Neoverse RD platform software stack and and use it to run UEFI SCT on the Neoverse RD FVP.
Build the platform software
Note
This section assumes the user has completed the chapter Getting Started and has a functional working environment.
This section describes the procedure to build the disk image for SCT run. The disk image consists of two partitions. The first partition is a EFI partition and contains grub. The second partition is a ext3 partition which contains the linux kernel image. Examples on how to use the build command for SCT are listed below.
To build the software stack, the command to be used is
./build-scripts/rdinfra/build-test-sct.sh -p <platform name> <command>
Supported command line options are listed below
<platform name>
Lookup for a platform name in Platform Names.
<command>
Supported commands are
cleanbuildpackageall(all of the three above)
Examples of the build command are
Command to clean, build and package the RD-N2 software stack required for SCT on RD-N2 platform:
./build-scripts/rdinfra/build-test-sct.sh -p rdn2 all
Command to perform an incremental build of the software components included in the software stack for the RD-N2 platform.
./build-scripts/rdinfra/build-test-sct.sh -p rdn2 build
Note
This command should be followed by the package command to complete the
preparation of the UEFI SCT disk image.
Command to package the previously built software stack and prepare the SCT disk image.
./build-scripts/rdinfra/build-test-sct.sh -p rdn2 package
Run UEFI SCT
After the build of the platform software stack for SCT is complete, the following commands can be used to start the execution of the selected platform fastmodel and run UEFI SCT. Examples on how to use the command are listed below.
To run UEFI sct, the commands to be used are
Set
MODELpath before launching the model:export MODEL=<absolute path to the platform FVP binary>
If platform is SGI-575:
cd model-scripts/sgi
If platform is an RD:
cd model-scripts/rdinfra
Run UEFI SCT:
./sct.sh -p <platform name> -a <additional_params> -n [true|false]
Supported command line options are listed below
-p <platform name>
Lookup for a platform name in Platform Names.
-j [true|false]
Automate SCT: true or false. Default value is set to ‘false’.
-n [true|false] (optional)
Controls the use of network ports by the model. If network ports have to be enabled, use ‘true’ as the option. Default value is set to ‘false’.
-a <additional_params> (optional)
Specify any additional model parameters to be passed. The model parameters and the data to be passed to those parameters can be found in the FVP documentation.
Example commands to run UEFI SCT are as listed below.
Command to start the execution of the RD-N2 model to run UEFI SCT:
./sct.sh -p rdn2
Command to start the execution of the RD-N2 model to run UEFI SCT with network enabled. The model supports virtio.net allowing the software running within the model to access the network:
./sct.sh -p rdn2 -n true
There are additional steps to be performed on the first boot to run SCT test. These steps are listed below.
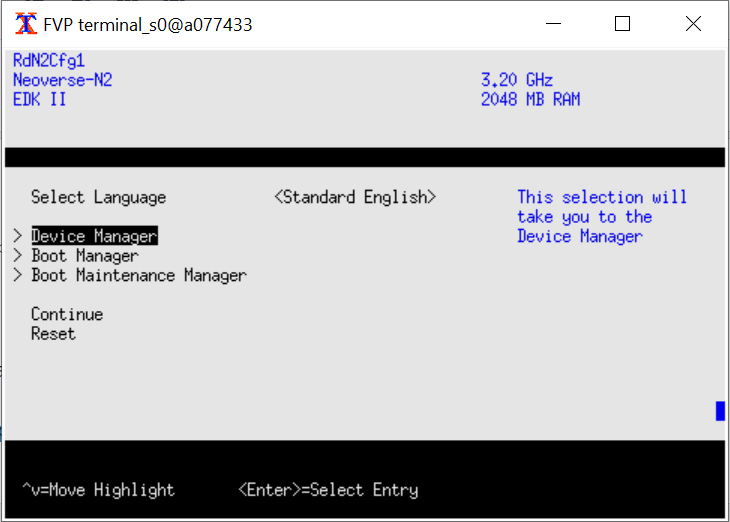
1- Click ESC and click on “Boot Manager”
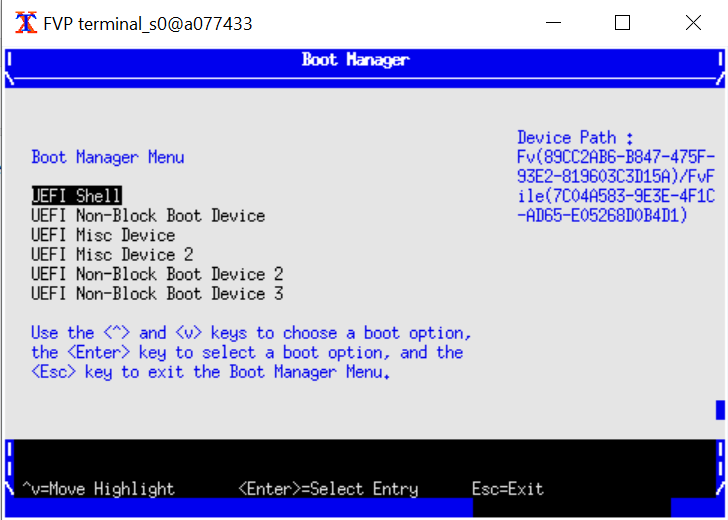
2- Select UEFI Shell and click Enter
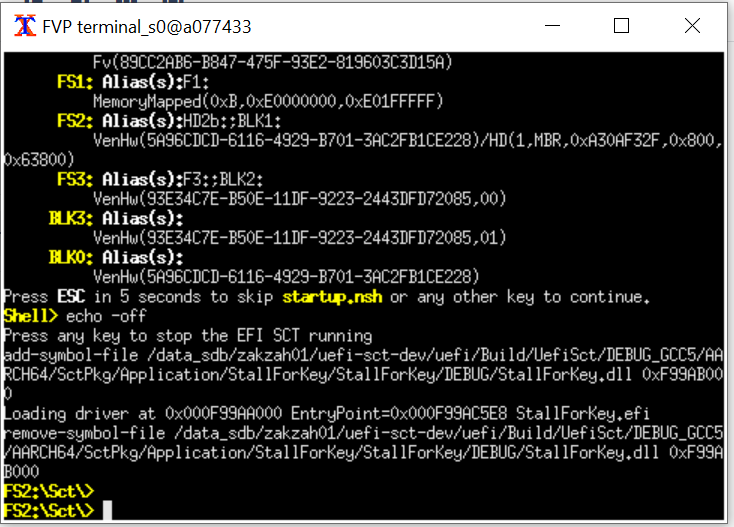
3- In the UEFI Shell tap the command to run the SCT test navigator
SCT.efi -u
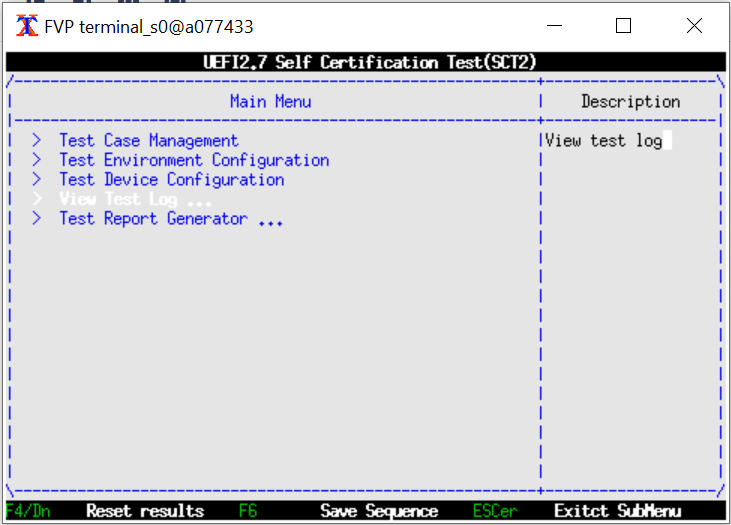
4- Select “Test Case Management”. Then, select any test you want to run. - To select a test tap “Space”, [1] should be printed in #Iter - To deselect a test tap again “Space”, [0] should be printed in #Iter
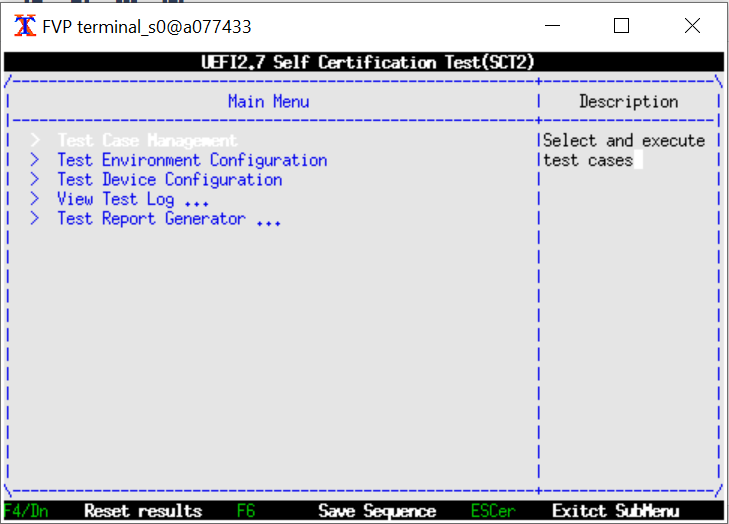
5- Click on F9 to run the selected tests
6- Retrieve the test results in the “View Test Log…”
